

Crafting Step-By-Step: How I Made A Flower Fairy Collage Card
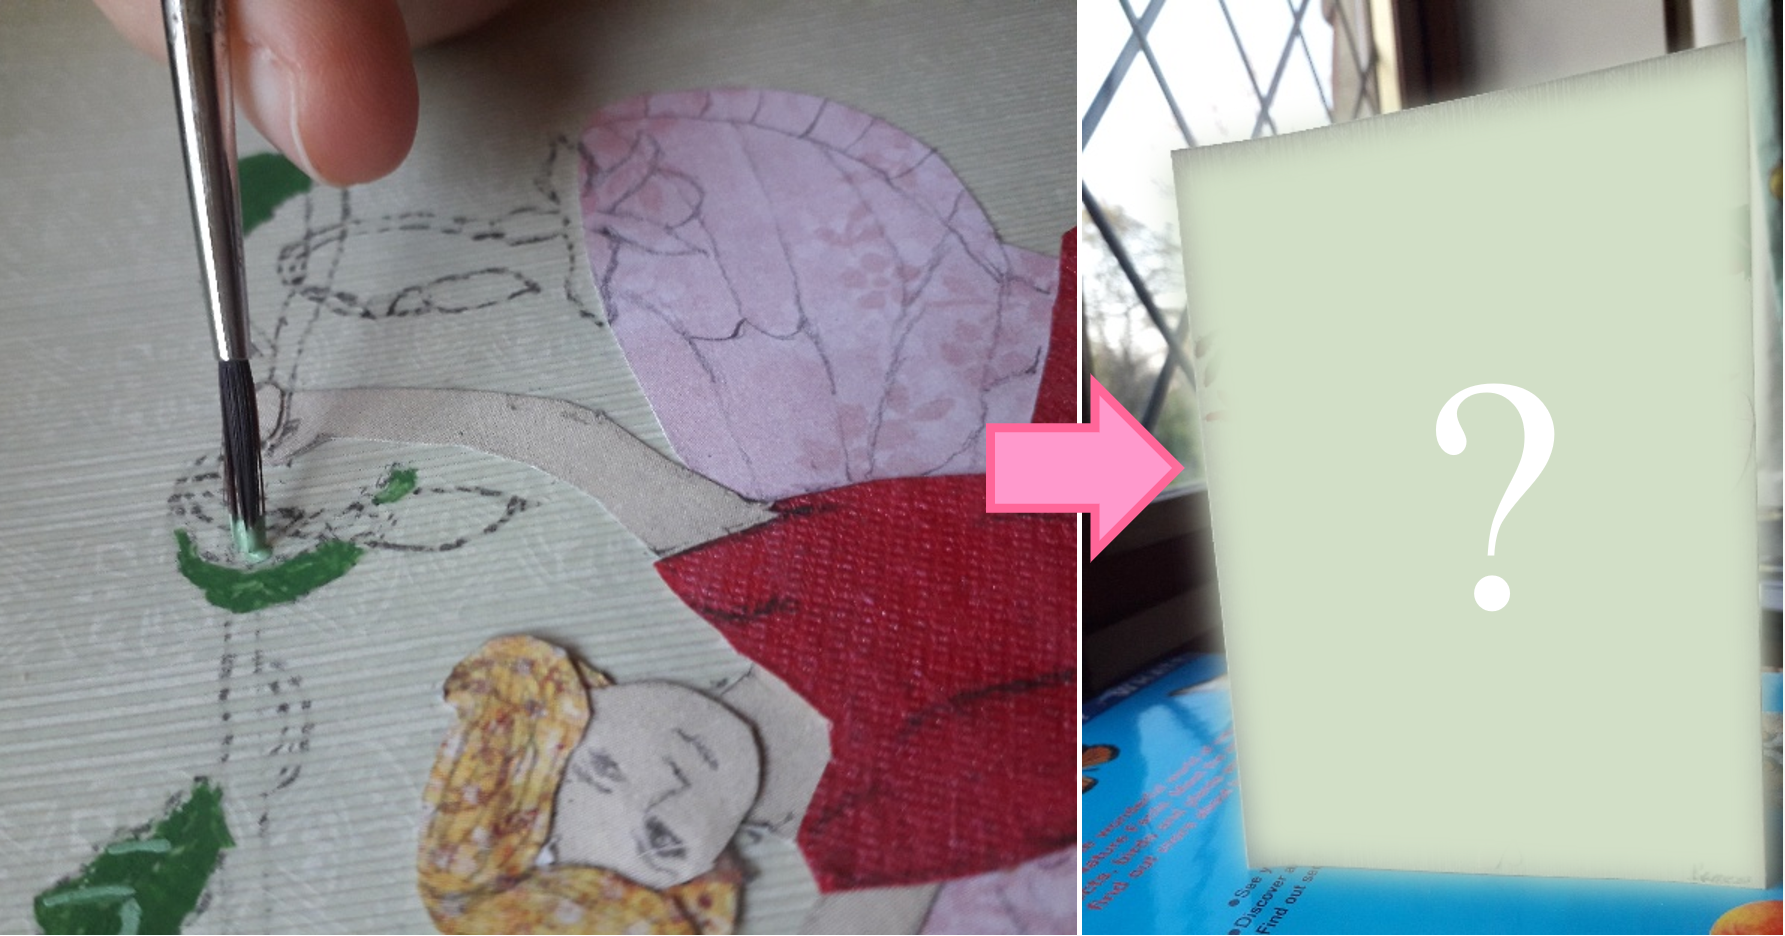
I’ve been hand-making birthday cards from a very young age. Back in 2020, collage was my medium of choice for this (I talk more about it in this blog post from March this year). As I was making a birthday card for my nan in the spring of that year, I thought it might be fun to pictorially document the process step-by-step. Now I’m going to share that process with you, so that you can use it as inspiration or a starting block for your own collage projects.
So let’s get Crafting!
Step 1: Planning Your Picture
As with artistic work of any kind, it often helps to have an idea of what you want to do before you do it. This is especially true with paper collage, as it relies on specific shapes of paper and card to make up the picture.
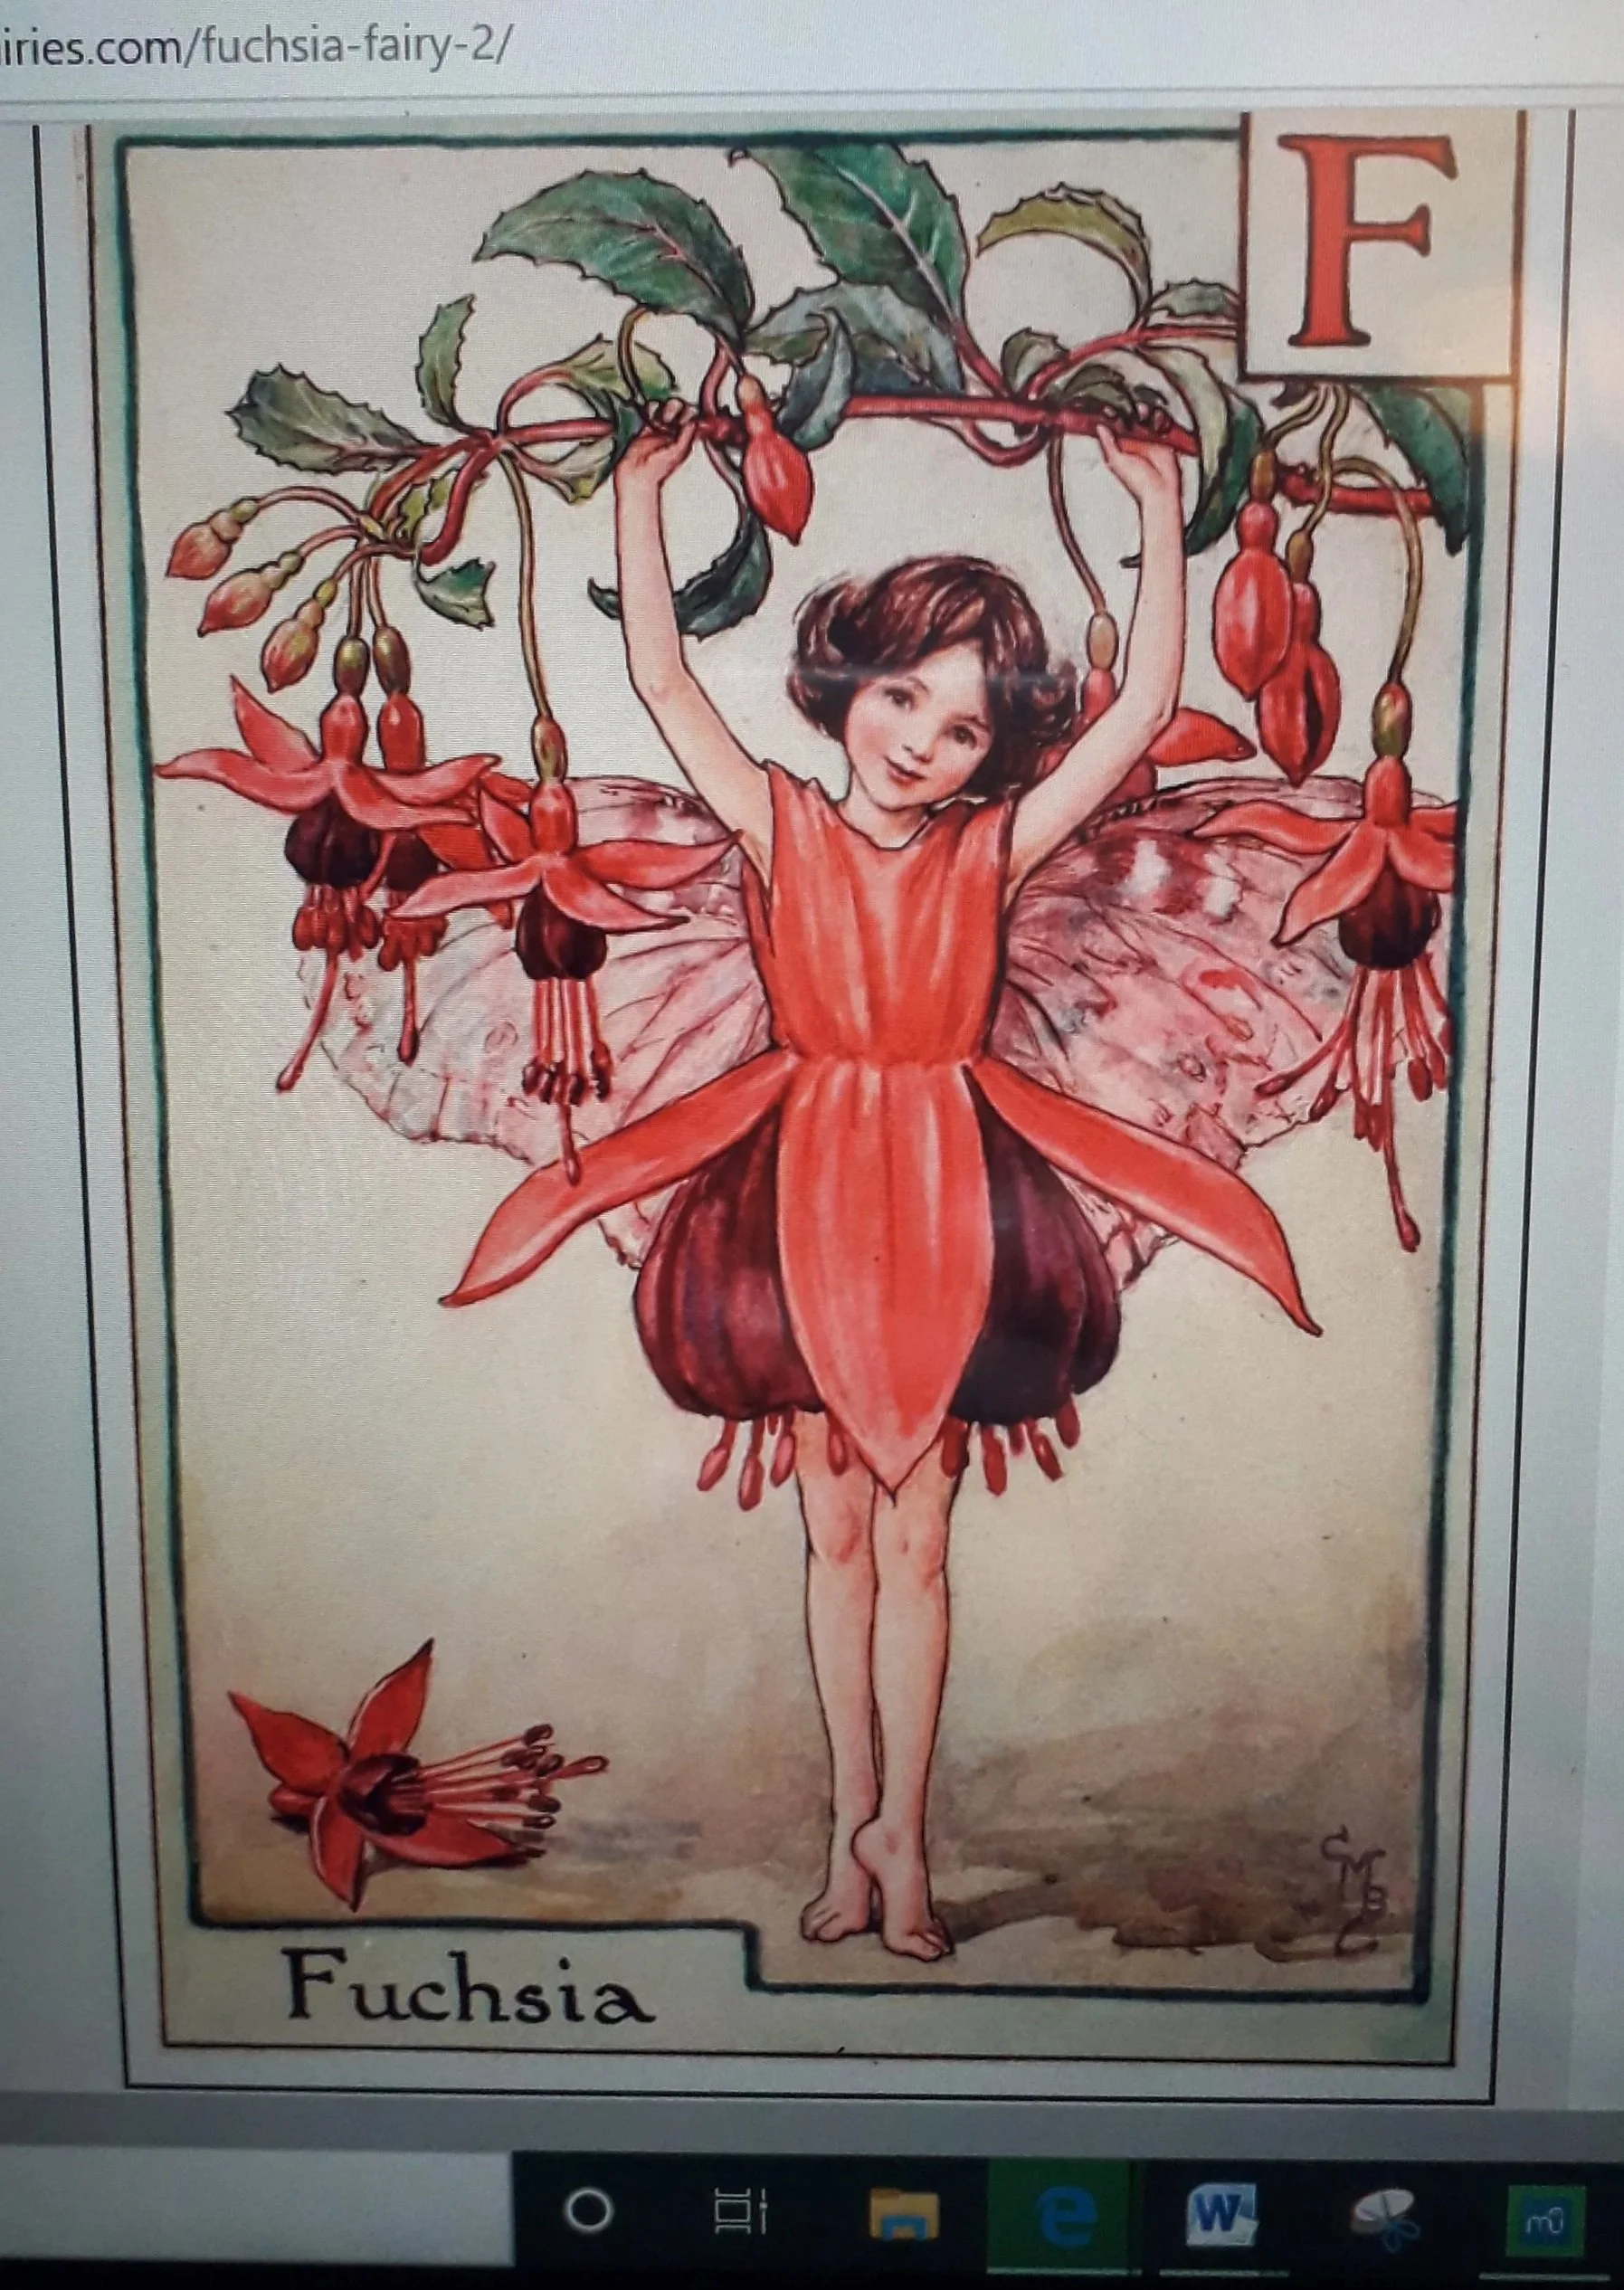
An easy way to do this is by using a reference image. I used this one for my nan’s card, as she has always been fond of the Flower Fairies illustrations by Cicely Mary Barker, and particularly likes fuchsias in this reddish-pink and purple colouration. (And personally, I’ve always thought that fuchsia flowers would make the perfect dresses for fairies!)
Of course, nothing is stopping you from coming up with your own original design. Feel free to get creative!
Step 2: Drawing Your Shapes
Next, get some tracing paper and draw out the shapes you’ll need. Sometimes you can do this by tracing off your reference image directly, but often the image will not be the size you want your collage to be, or will have shadowy areas that become unclear when viewed through the tracing paper. In these cases, it’s a good idea to redraw your reference image in the size that you want it, making sure each area of colour that you want in your collage has a clear shape.
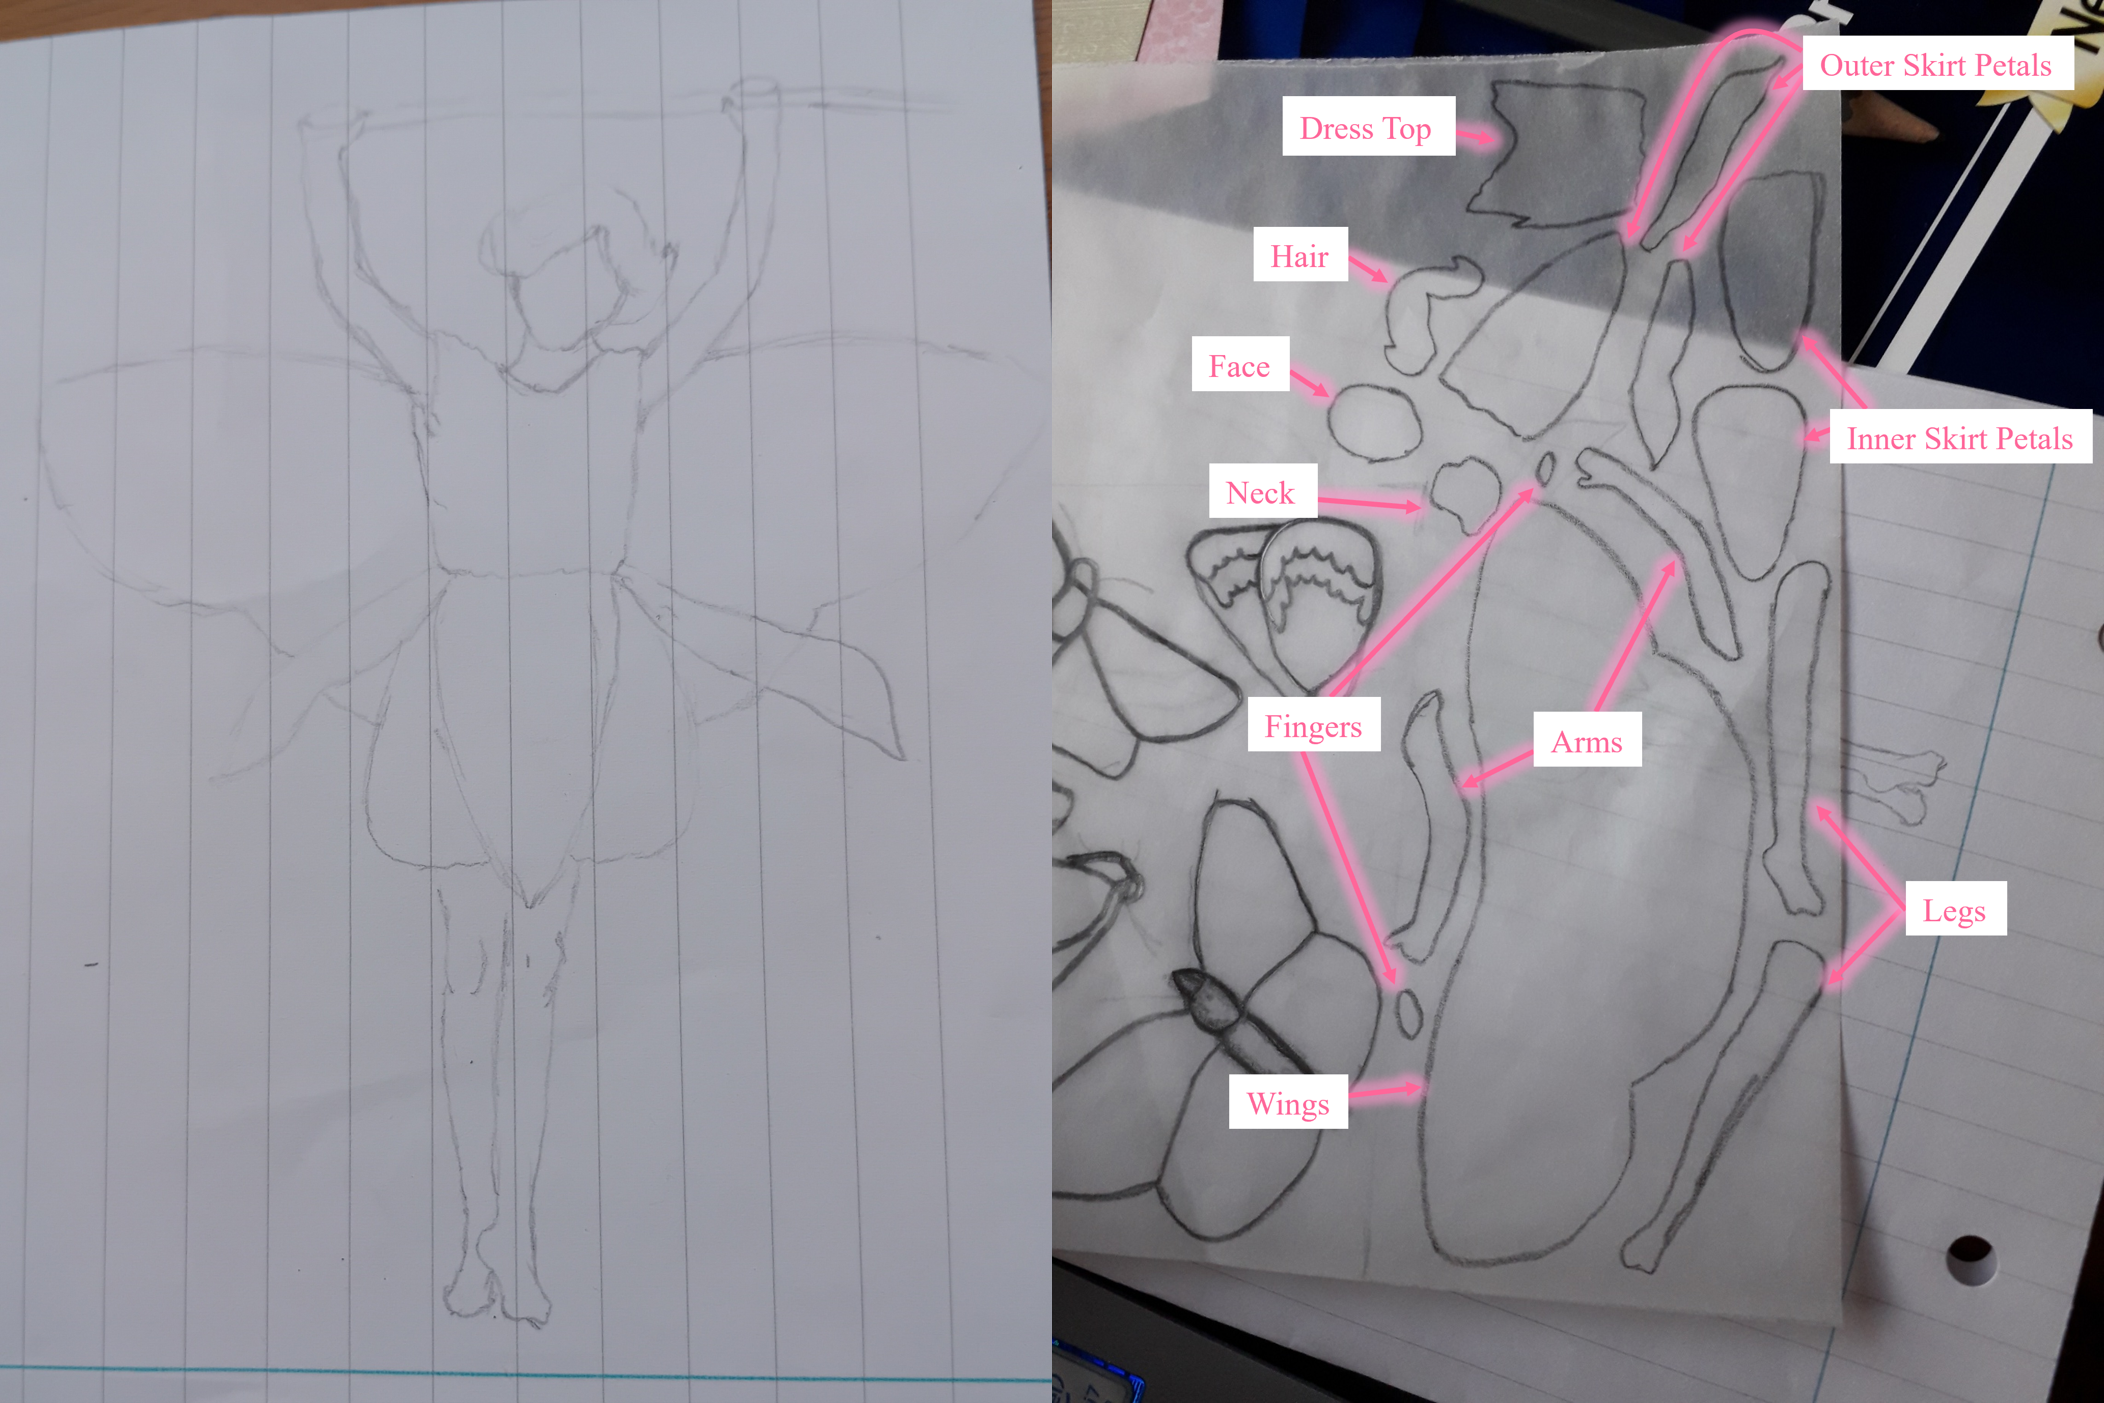
For this collage, I chose the latter method, mostly because the image was on my laptop which is touchscreen, which would have made tracing awkward. On the left of the above image, you can see the sketch that I made; on the right, the sheet of tracing paper with the shapes on it.
For the shapes further back in your picture, it’s a good idea to draw them so that they will extend behind the shapes that will be in front of them, to avoid leaving a gap between shapes where the background will show through. The most obvious example of this here is the wings, which I traced as one large shape on top of which the dress and arm pieces would be placed.
It’s also a good idea to use a pencil that is grade 2B or softer when tracing your shapes, as you’ll want the pencil markings to transfer easily onto your collage paper.
Step 3: Transferring Your Shapes
Now that you have your shapes, it’s time to transfer them onto the paper or card that will make up the collage. Once you’ve selected the materials in the colours and patterns you want, place each shape on the tracing paper over the material of its chosen colour with the side you drew on facing down. Then trace over the shape again on the back of the tracing paper, perhaps pressing a little harder than you normally would, to transfer the pencil marks on the other side onto the coloured paper.
Note: this will give you an image on your collage that is a flipped version of your reference image. If you don’t want your image to be flipped, there is an easy fix for this – just retrace the shape on the back of the tracing paper BEFORE placing it over the coloured paper, so that the shape is outlined in pencil on both sides, then position it over the coloured paper with the back facing down and retrace it on the front once more.
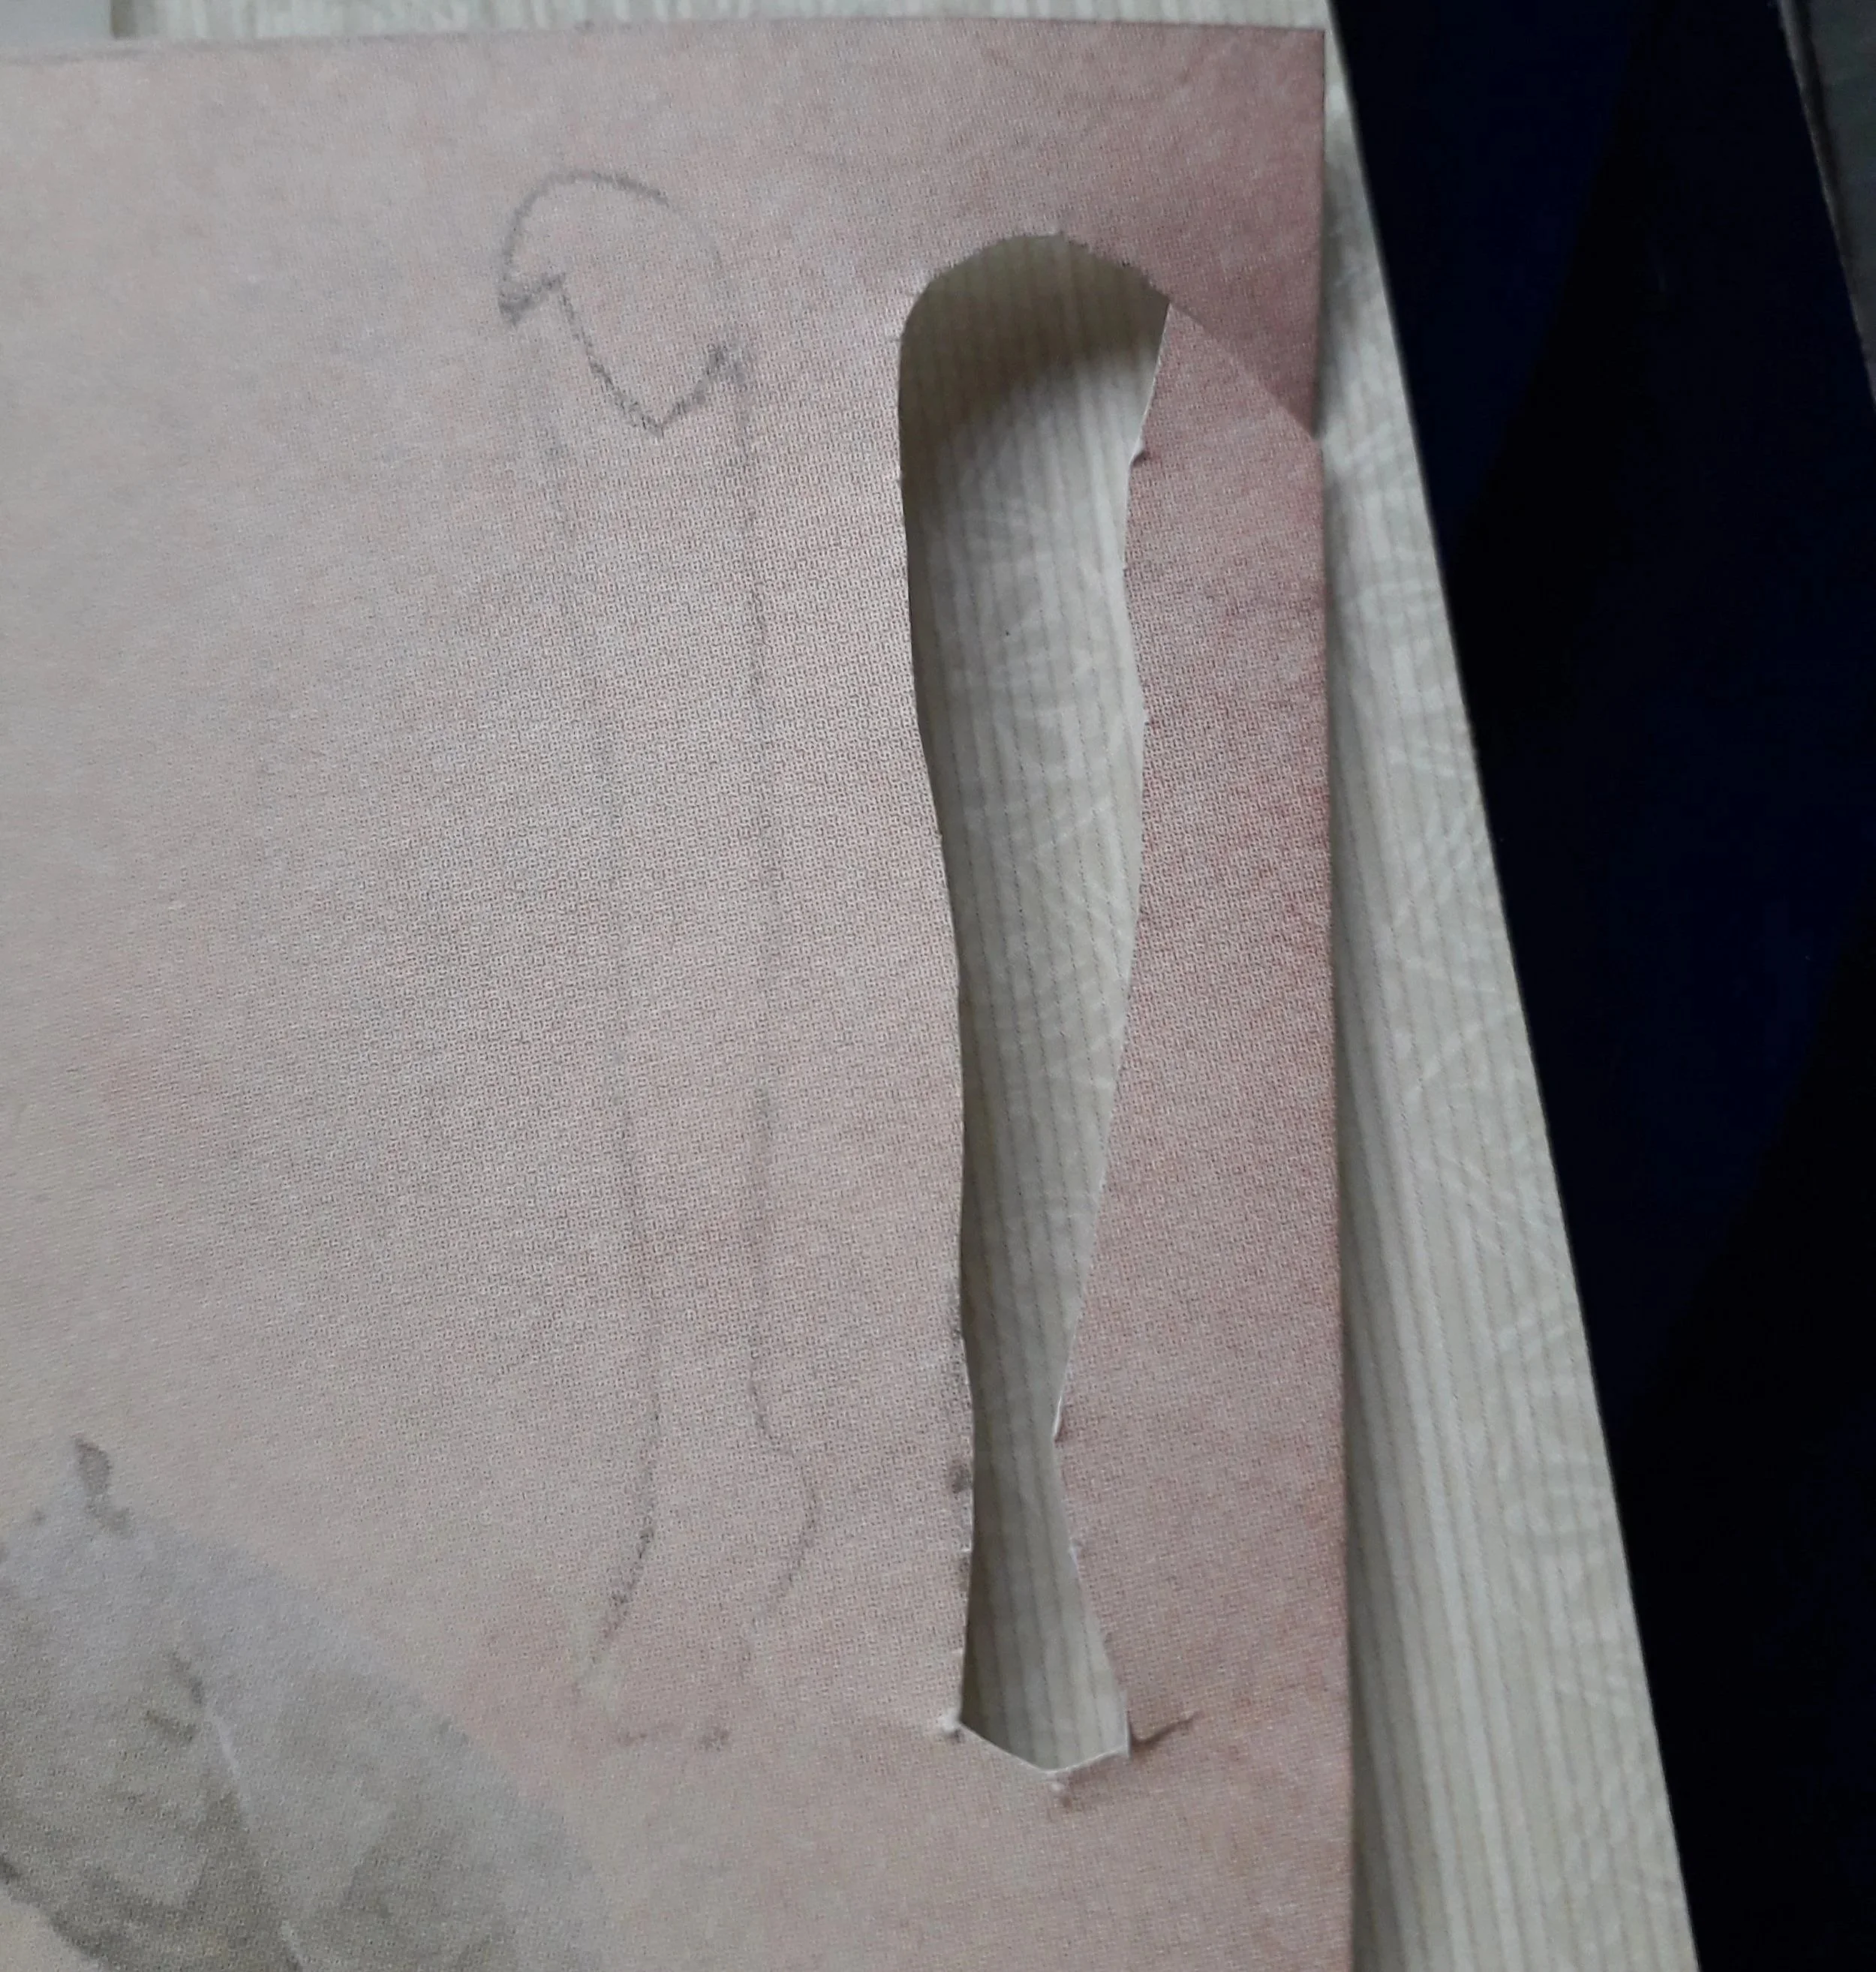
Once you’ve transferred your shapes, you can go ahead and carefully cut them out.
Here, I have transferred the shapes of the fairy’s legs onto peach-coloured paper. The leg on the right I have already cut out. The zigzag line near the top of the leg on the left is where I have drawn the position where the skirt petal pieces will sit on top of it.
Step 4: Arranging Your Collage
Once you’ve cut out all of your coloured paper shapes, you’re ready to start placing them and sticking them down! Start with the pieces that are furthest back in the image, and work your way forward (in this example, starting with the wings, then the legs and so on).
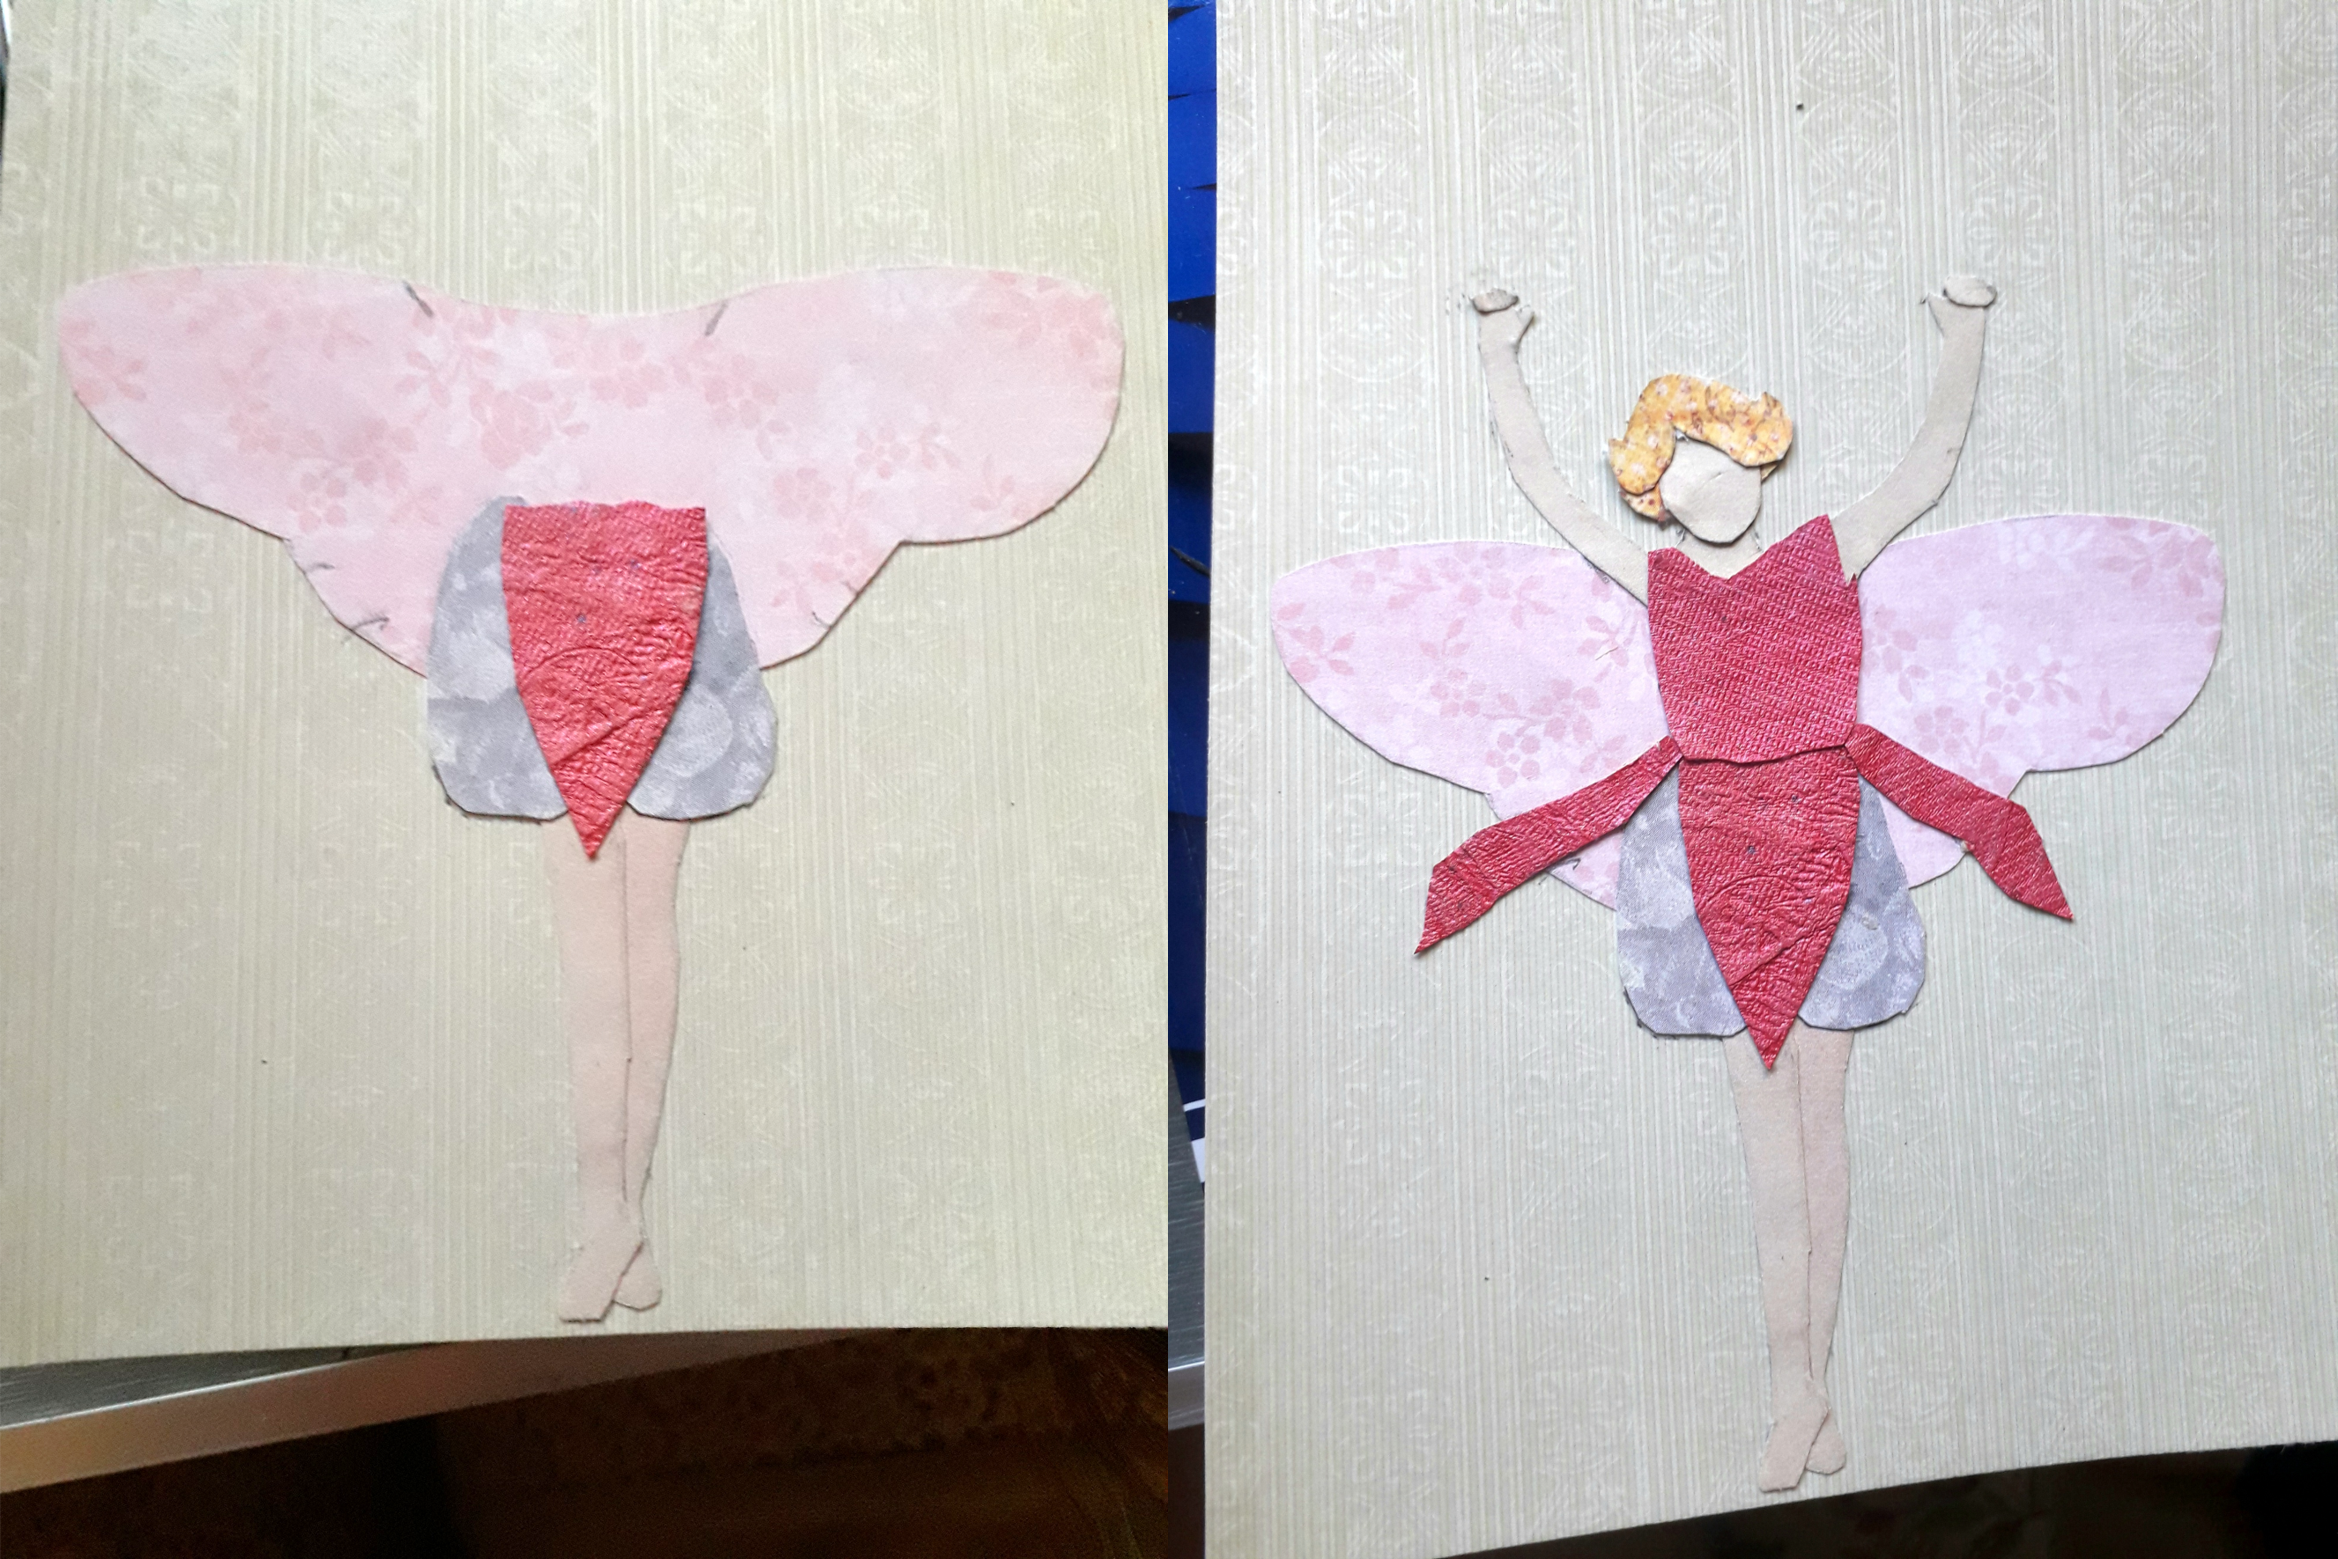
It may be useful to you to draw small pencil markings to indicate the position of each shape before you stick it down. You can see such markings on the wings in the picture on the left, indicating the position of the outer skirt petals and arms.
Step 5: Adding Details
Your collage is almost finished – now you just need to add in some details. These are the more intricate aspects of your picture that would be too intricate or fiddly to create with paper shapes. Pencils, pens and paints are all good for this.
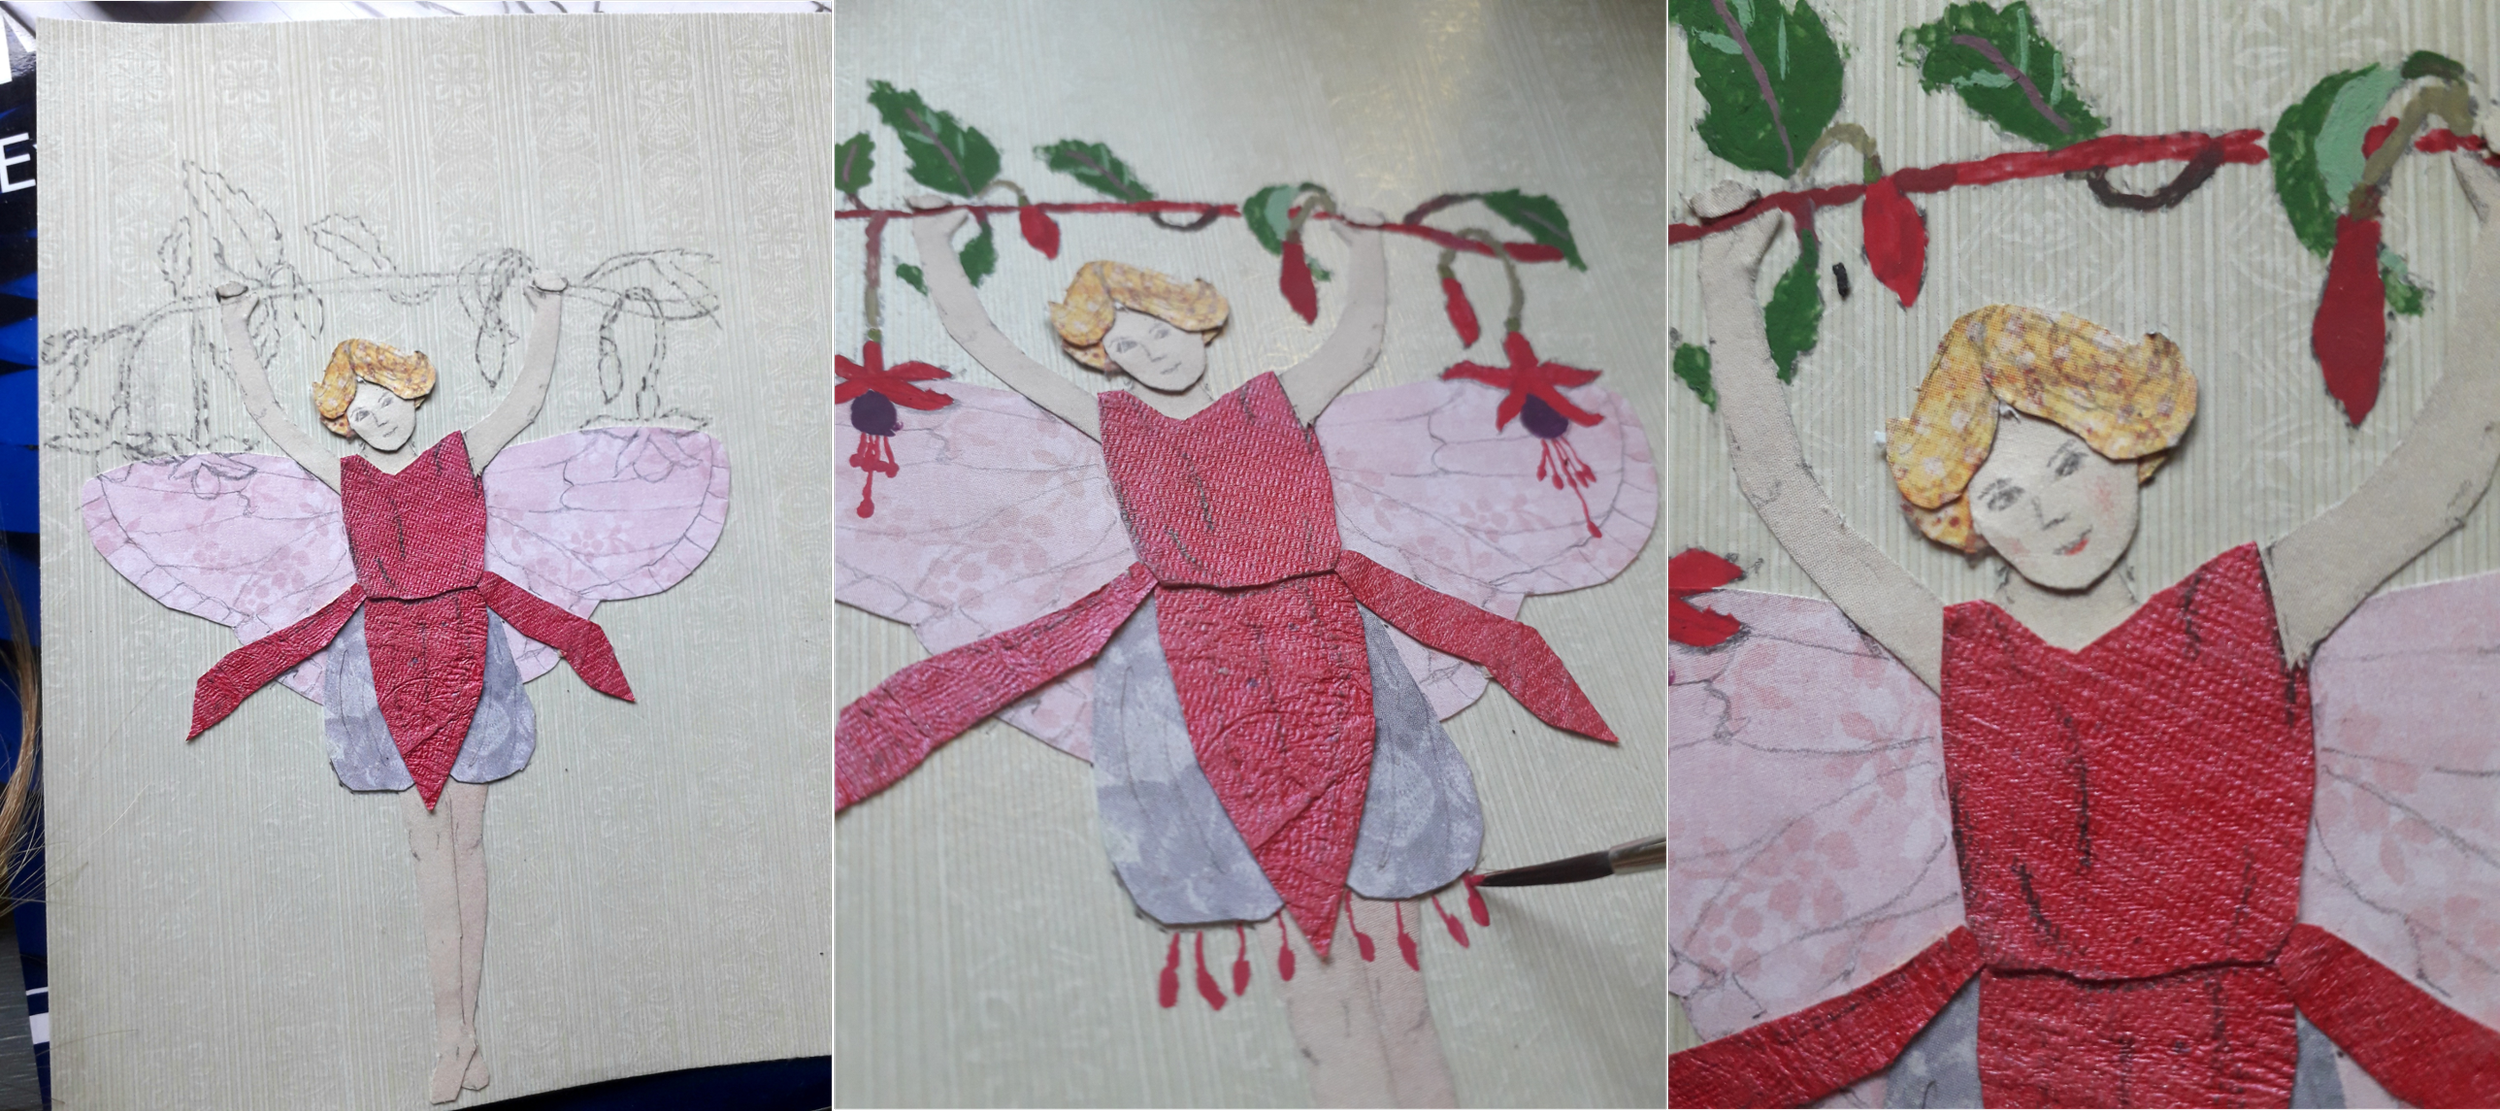
For our Flower Fairy, I used drawing pencil to add detail lines to the wings, dress, limbs, hair and face; acrylic paint to create the fuchsia stem and the little stamens on her skirt; and a little coloured pencil to give her pink lips and some blush.😊
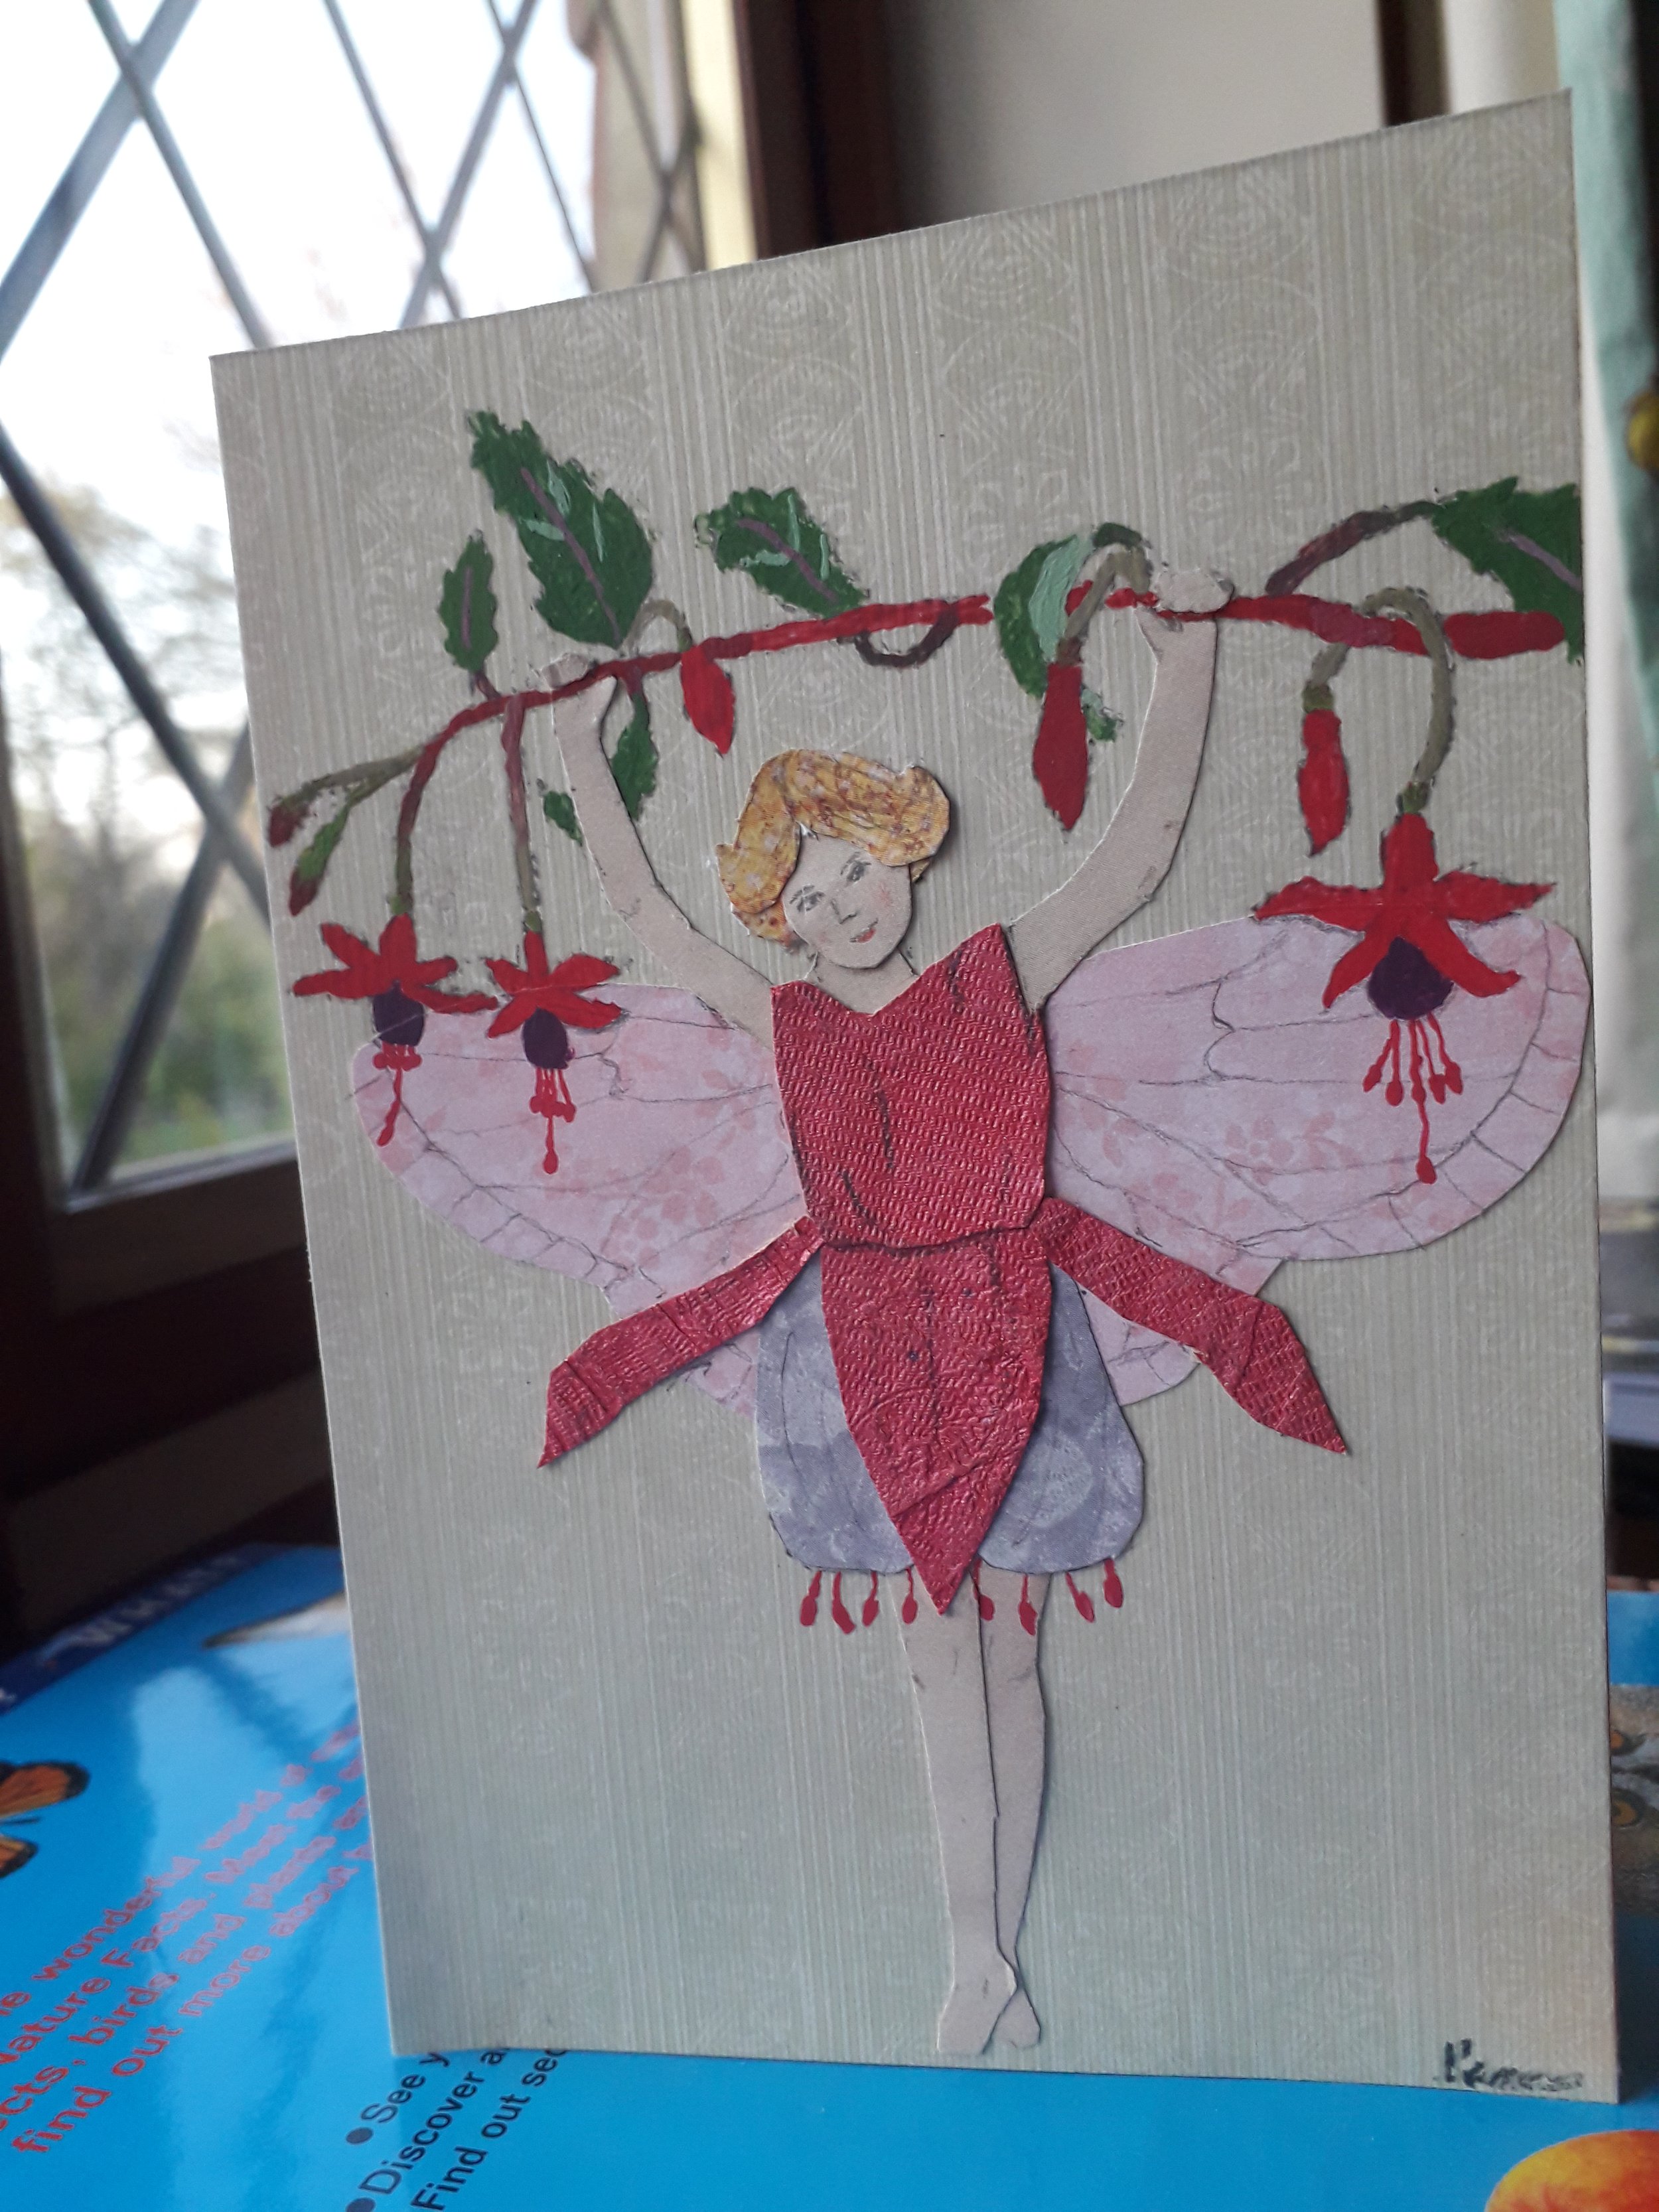
Done!
Now you know how to make collages of anything you want! All you need is some pretty paper, a little paint and a vision.
Happy Crafting!
~KC🐨🧶
